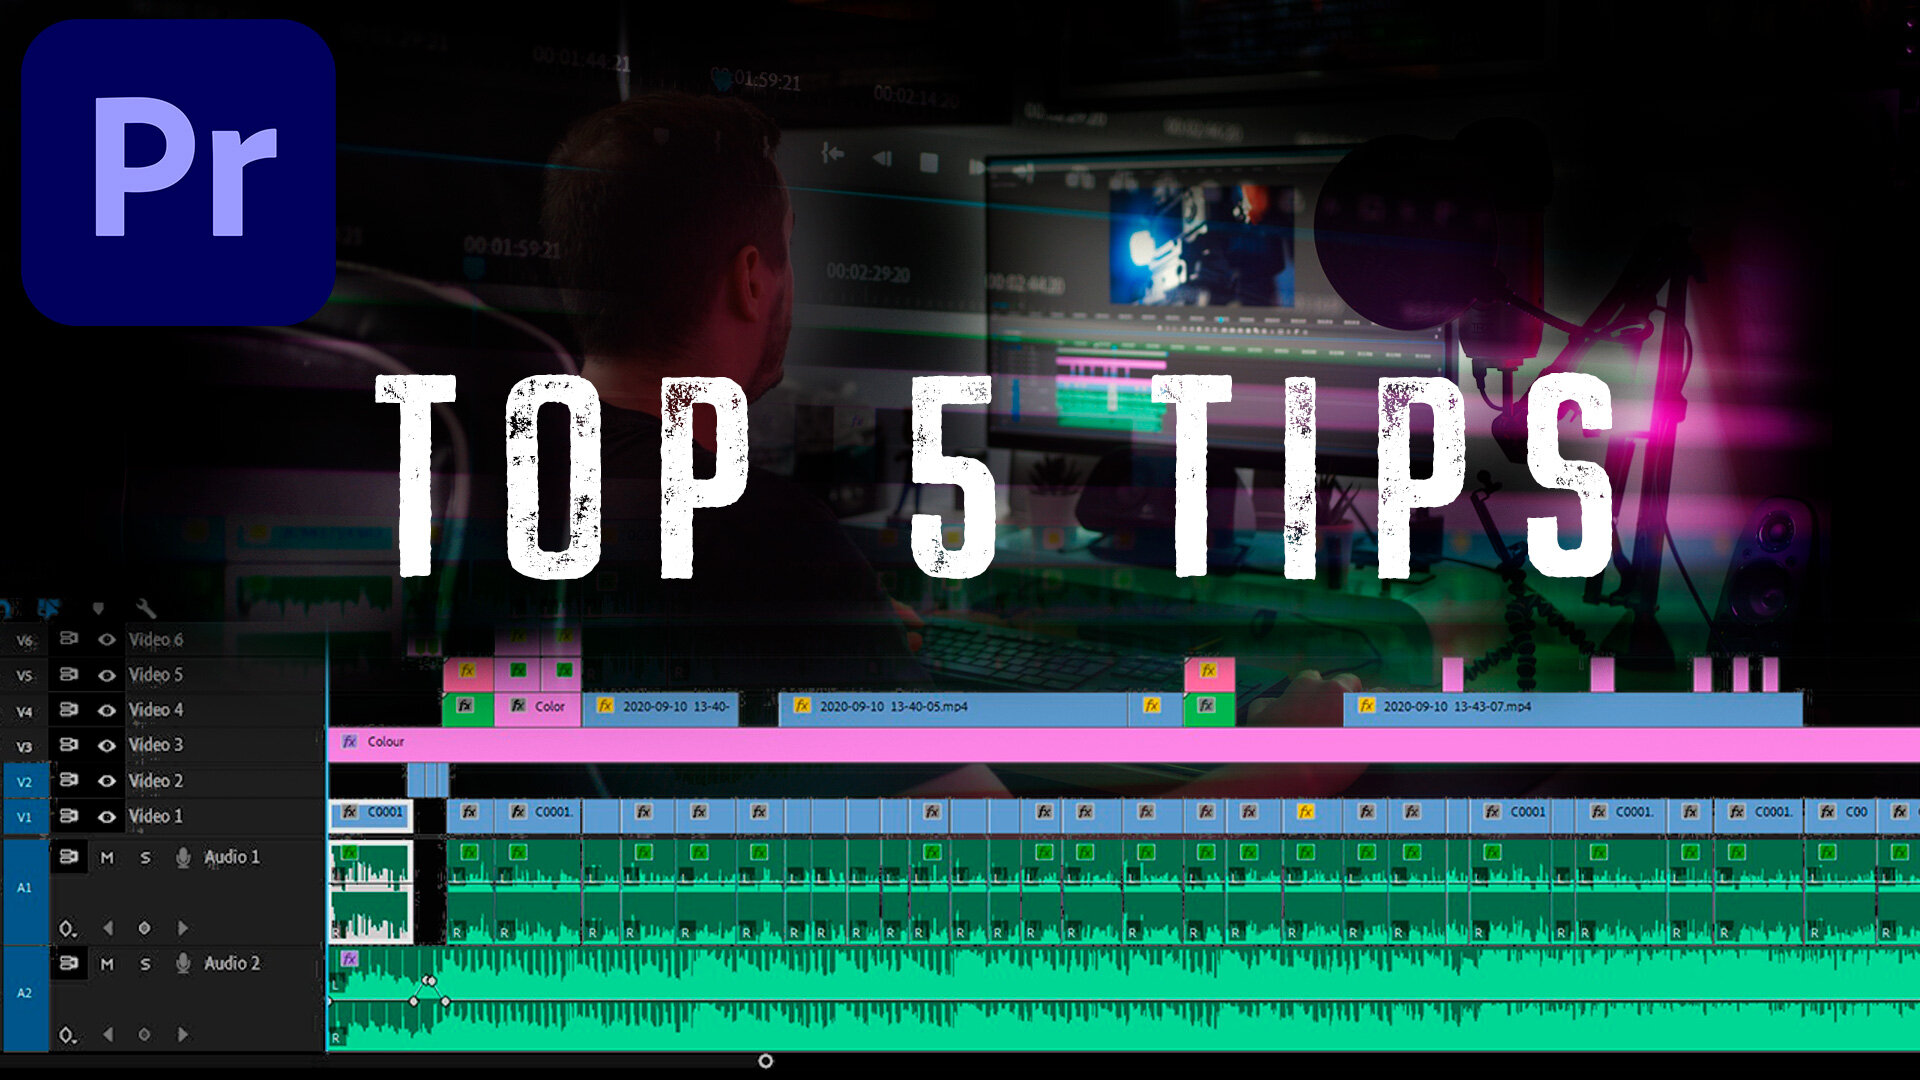
Adobe Premiere Pro - Top 5 Editing Tips
Here are my Top 5 Adobe Premiere Pro Editing Tips.
Reveal Hidden track names.
This one I have to thank Vashi Nedomansky and Karl Soule for, as I found this one out from them about 2 years ago, and it's made managing projects with a lot of layers so much easier.
So even if you have already renamed each of your layers within your project, once you minimise them all, you can't actually see them.
If you want to reveal those names.
Right-click on the blank area of the track.
Scroll down to where it says customise.
The button editor window will appear.
Grab the track name, for example, v1, and drag it to the end of the list of icons. It has to be the last one for this to work.
This will activate the names for all of the other layers. You will have to repeat this process for both the video and audio tracks.
Now you can see the track names for all of your layers when everything is minimised.
https://www.youtube.com/watch?v=foG0_aRbWPM
2 . Q & W
The Q and W key shortcut keys were a game-changer when I found out about them. For someone like me who edits a lot of talking head and interview-style videos, these two keys have saved me so much time.
The Q and W keys are what is known as top and tails editing.
When you are cutting in the timeline, hitting the Q key will ripple delete everthing from the current playhead position to your last cut.
The W key does the opposite, when you press W it will ripple delete everything from the current playhead position up until the next edit.
Keep in mind this will only affect the tracks you have selected.
I'm often cutting to music and so I will lock the audio track and use Q and W to cut the video along. I use the up and down arrows to go back and forth quickly through clips if I need to make amends or there is also the J K L keys which save me having to use my mouse at all.
3 . Global FX Mute Button.
This is another quick and handy tool that is slightly hidden at first.
To find it, click on the button editor just under the monitor and just drag the Global FX Mute down to the button panel.
This handy button is useful when you are working with a project that has a lot of heavy effects and colour work. When you click it, it will disable all of these effects at once, allowing you to have smoother playback when editing.
Depending on your computer setup, this may be more useful to some than others. If you've been experiencing laggy playback then this may help.
Just remember to turn it off when you're finished!
4 . Get your settings right
This one will be slightly different for eveyone as our editing systems and personal prefference will differ.
The main point behind this tip is to get you started on the right foot when you begin a new project.
Simple things like making sure you have autosave set up.
If your GPU allows it, making sure hardware encoding is on.
Some persoanl prefferences like, checking that bins will open as a new tab instead of a floating layer.
Automatic audio waveform generation, Default media scaling.
Just go through your settings and make sure everything is how you like it.
5 . Use Media Encoder for exports
Now depending on how much you edit regularly, chances are you probably do this already.
Unlike exporting straight from within Premiere Pro itself, when you export through Media Encoder, you can add multiple files at once. This gives you the option to carry on editing within Premiere if needed. Media Encoder will let add an unlimited amount of videos to the queue and it will keep on going in the background until it's done.
Also, I haven't done any scientific test but I'm convinced exporting through Media Encoder is slightly faster...maybe.
Bonus Tip - Use the Media Browser
The media browser has to be one of the most overlooked tools within Premiere Pro. The number of times I've seen people either dragging files into the project window or double-clicking to import! your editing life will be so much easier once you start using the media browser to find your files, that's what it's there for!